Yet Another LoRa Gateway
Beta testing RAK2287
A few months back, I joined as a beta tester of the new RAK2287 LoRaWAN Gateway module by RAKwireless. This newly released module sports the latest SX1302 concentrator chip from Semtech, it also features a GPS module and utilizes a mini-PCIe interface to communicate with a host device. You can read more details and specifications here.
My overall plan was to install the module on a Raspberry Pi and configure the software needed in order to build a The Things Network compatible LoRaWAN gateway.
Luckily, Rak is offering a compatible Pi Hat to help you interface the module with a Raspberry Pi:

You can follow the instructions to prepare your SD card with a ready made image that includes everything that is needed to further guide you to configure your gateway. All you need is to run gateway-version and gateway-config to connect either to the TTN network or to a ChirpStack open source server.

Literally in few minutes, you can have a LoRaWAN gateway running and collecting LoRa packets in your area:

Back in January 2020 though, there was no officially released Pi Hat for the RAK2287 module so, I found a ‘generic’ mPCIe break-out board on tindie to try build the gateway. The total parts used:
- 1 x RAK2287
- 1 x Antenna indoor 868MHz EU (included in the rak module box)
- 1 x Antenna GPS (included in the rak module box)
- 1 x Raspberry Pi (3B and above)
- 1 x mini PCI-e all pins breakout (from tindie)
- 1 x usb power-supply (at least 2A)
- 1 x usb cable (to power the module via the mPCI-e breakout board)
- 1 x F-F jumper cables (to connect the Raspberry Pi and the board)
- 1 x male pin headers
- 1 x case (optional)
A soldering iron is also needed to solder the pin header to the breakout board
Ensure you have Raspberry Pi OS (formerly Raspbian) installed on your Raspberry Pi and configured for ssh access (you can follow the guide).
Now, let’s get our hands dirty!
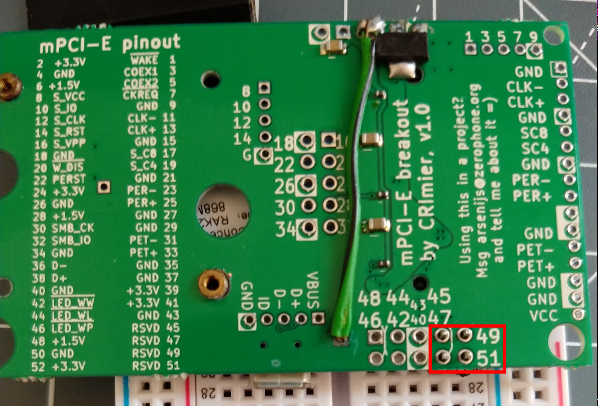
From the RAK2287 specifications document we identify that the SPI is defined to pins to pin 45, 47, 49, 51 of mPCI-e header thus, we need to solder a 4 pin header to these pins of the breakout board respectively:
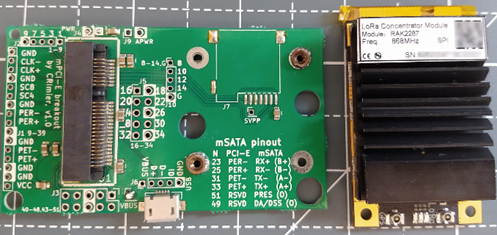
Connect the RAK2287 module to the breakout:
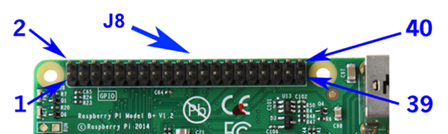
Connect 4 F-F jumper cables from the soldered pins on the breakout to the RasPi pin header, as below:

Before powering on the RasPi with the 5V usb power adapter, we need also to connect the usb cable from an available usb port of the Pi to the breadboard. Check below for the connections:

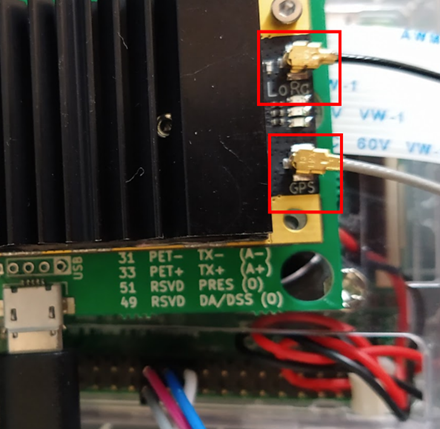
Lastly, we connect the LoRa and GPS antennas to the module (Caution: Fail to do so, prior powering on, may damage the module!):
Now we are ready to power on the system and continue with software installation!
Connect to your Pi through SSH and refresh your OS:
sudo apt-get update
sudo apt-get upgrade
Install git (if missing):
sudo apt-get install git
Clone the SX1302 repo in your home folder:
git clone https://github.com/Lora-net/sx1302_hal.git
Compile the source:
cd sx1302_hal/
make clean all
make install
make install_conf
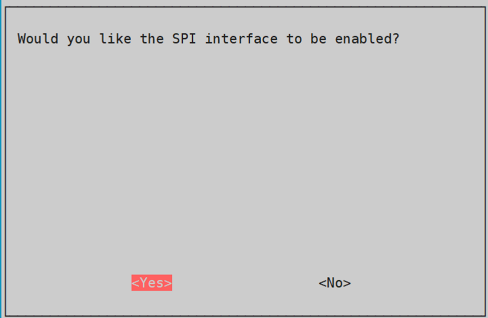
Enable SPI interface (if not previously enabled):
sudo raspi-config
(select -> 5. Interfacing options -> P4 SPI -> yes -> reboot)
Lastly, had to proceed with TTN stack installation and configuration following this wiki.